I'm hosting the Crop Night tonight, October 15th, at Michaels West Broad Street from 3:00 until 8:00. Registration is only $5! And you do not have to register in advance, just show up, pay your five bucks and walk in. And you may be asking yourself "What do I get for $5?" Well, you get to bring any unfinished projects scrapbooking, card making, altered art or any other paper crafting projects and actually work on those projects in uninterrupted bliss in the company of like minded craftspeople.
AND you get to use our tools. So if you need to cut out some perfectly shaped letters, we've got a Cricut machine for that!
OR if you've got a project just crying out for grommets but you don't have a grommet setter, we've got you covered.
OR you've always wanted to try embossing, but you want some help the first time before you make an investment in your own embossing gun, come on down.
We've got your Tim Holtz Distress Inks, we've got you Martha Stewart Punch-Around-the-Page, we've got stamps, we've got punches, we've got ink pads, and scissors, and heat guns, and glitter and glue and all we need is you. And all you need is your photos and paper. Hope to see you there.
PS. Stay tuned for the November/December schedule. Should be posted later tonight or tomorrow.
PPS. If you want to get my class schedule via e-mail anytime there are additions, deletions, or updates, please send an email to GoodOnPaperRVA@gmail.com with the word "Schedule" in the subject line and I'll add you to the list. Thanks!

Showing posts with label Paper crafts. Show all posts
Showing posts with label Paper crafts. Show all posts
Saturday, October 15, 2011

Wednesday, October 12, 2011
New Demos Scheduled October 2011
If you're interested in paper crafting or scrapbooking and want to do some window shopping, ask some questions, or do some "touch and feel" before you sign up for a class, I've got two great demos coming up. Both demos are atMichaels West Broad Street location.
Tim Holtz Halloween Banner
October 13th, 2011 4:00-5:00 (Thursday)
I'll be demonstrating distressing techniques used to make the Tim Holtz "Scary"
Halloween banner. If you've always browsed the Tim Holtz/Ranger ink section thinking "that stuff is really neat, but what do I do with it?" then this is the demo for you. I'll show you many different ways to use your Distress inks, we'll use some Stickles, the Mini Mister, and maybe some Crackle Paint too.
Scrapbooking Demo
October 21st, 2011 10:00-11:00 (Friday)
If you're new to scrapbooking or and old pro looking for new tips or shopping for new products, this is for everyone. I'll be available to answer any questions you may have about scrapbooking from papers to adhesives. I'll showcase some new products we're carrying and of course help you sign up for our new late fall and winter classes. There's lots on the menu, hope too see you there.
Tim Holtz Halloween Banner
October 13th, 2011 4:00-5:00 (Thursday)
I'll be demonstrating distressing techniques used to make the Tim Holtz "Scary"
Halloween banner. If you've always browsed the Tim Holtz/Ranger ink section thinking "that stuff is really neat, but what do I do with it?" then this is the demo for you. I'll show you many different ways to use your Distress inks, we'll use some Stickles, the Mini Mister, and maybe some Crackle Paint too.
Scrapbooking Demo
October 21st, 2011 10:00-11:00 (Friday)
If you're new to scrapbooking or and old pro looking for new tips or shopping for new products, this is for everyone. I'll be available to answer any questions you may have about scrapbooking from papers to adhesives. I'll showcase some new products we're carrying and of course help you sign up for our new late fall and winter classes. There's lots on the menu, hope too see you there.
Wednesday, September 28, 2011
Paper-ED October Schedule
Unless otherwise noted all classes are $25 and require pre-registration at Michaels on West Broad Street. All class also require that participant either purchase required supplies from store or bring supplies from personal stock at home, limited supplies are provided.
4th 11:00-1:00
Paper Bag Mini Album
6th 6:00-8:00
Halloween Party
9th 2:00-4:00
Altered Canvas Trio
10th 2:00- 4:00
Kid's Scrapbook Frame*
12th 6:00-8:00
Tim Holtz Halloween
13th 6:00-8:00
Tim Holtz Halloween
15th 3:00-8:00
Crop Night **
18th 11:00-1:00
Sketched Out
20th 6:00-8:00
Card Tricks in a Flash
27th 6:00-8:00
Sketched Out
30th 2:00-4:00
Tags of Christmas Past
*This is a Kids Event, cost $15 per child, and is appropriate for children kindergarten and up and requires parental supervision.
**Crop Night is a monthly event, register for $5 and bring all your half-done projects to our classroom, meet-up with friends, get advice from the Scrapbooking expert and use the store's Cricut machine to put the finishing touches on all your projects.
4th 11:00-1:00
Paper Bag Mini Album
6th 6:00-8:00
Halloween Party
9th 2:00-4:00
Altered Canvas Trio
10th 2:00- 4:00
Kid's Scrapbook Frame*
12th 6:00-8:00
Tim Holtz Halloween
13th 6:00-8:00
Tim Holtz Halloween
15th 3:00-8:00
Crop Night **
18th 11:00-1:00
Sketched Out
20th 6:00-8:00
Card Tricks in a Flash
27th 6:00-8:00
Sketched Out
30th 2:00-4:00
Tags of Christmas Past
*This is a Kids Event, cost $15 per child, and is appropriate for children kindergarten and up and requires parental supervision.
**Crop Night is a monthly event, register for $5 and bring all your half-done projects to our classroom, meet-up with friends, get advice from the Scrapbooking expert and use the store's Cricut machine to put the finishing touches on all your projects.
Sunday, September 4, 2011
Altered Shadow Boxes
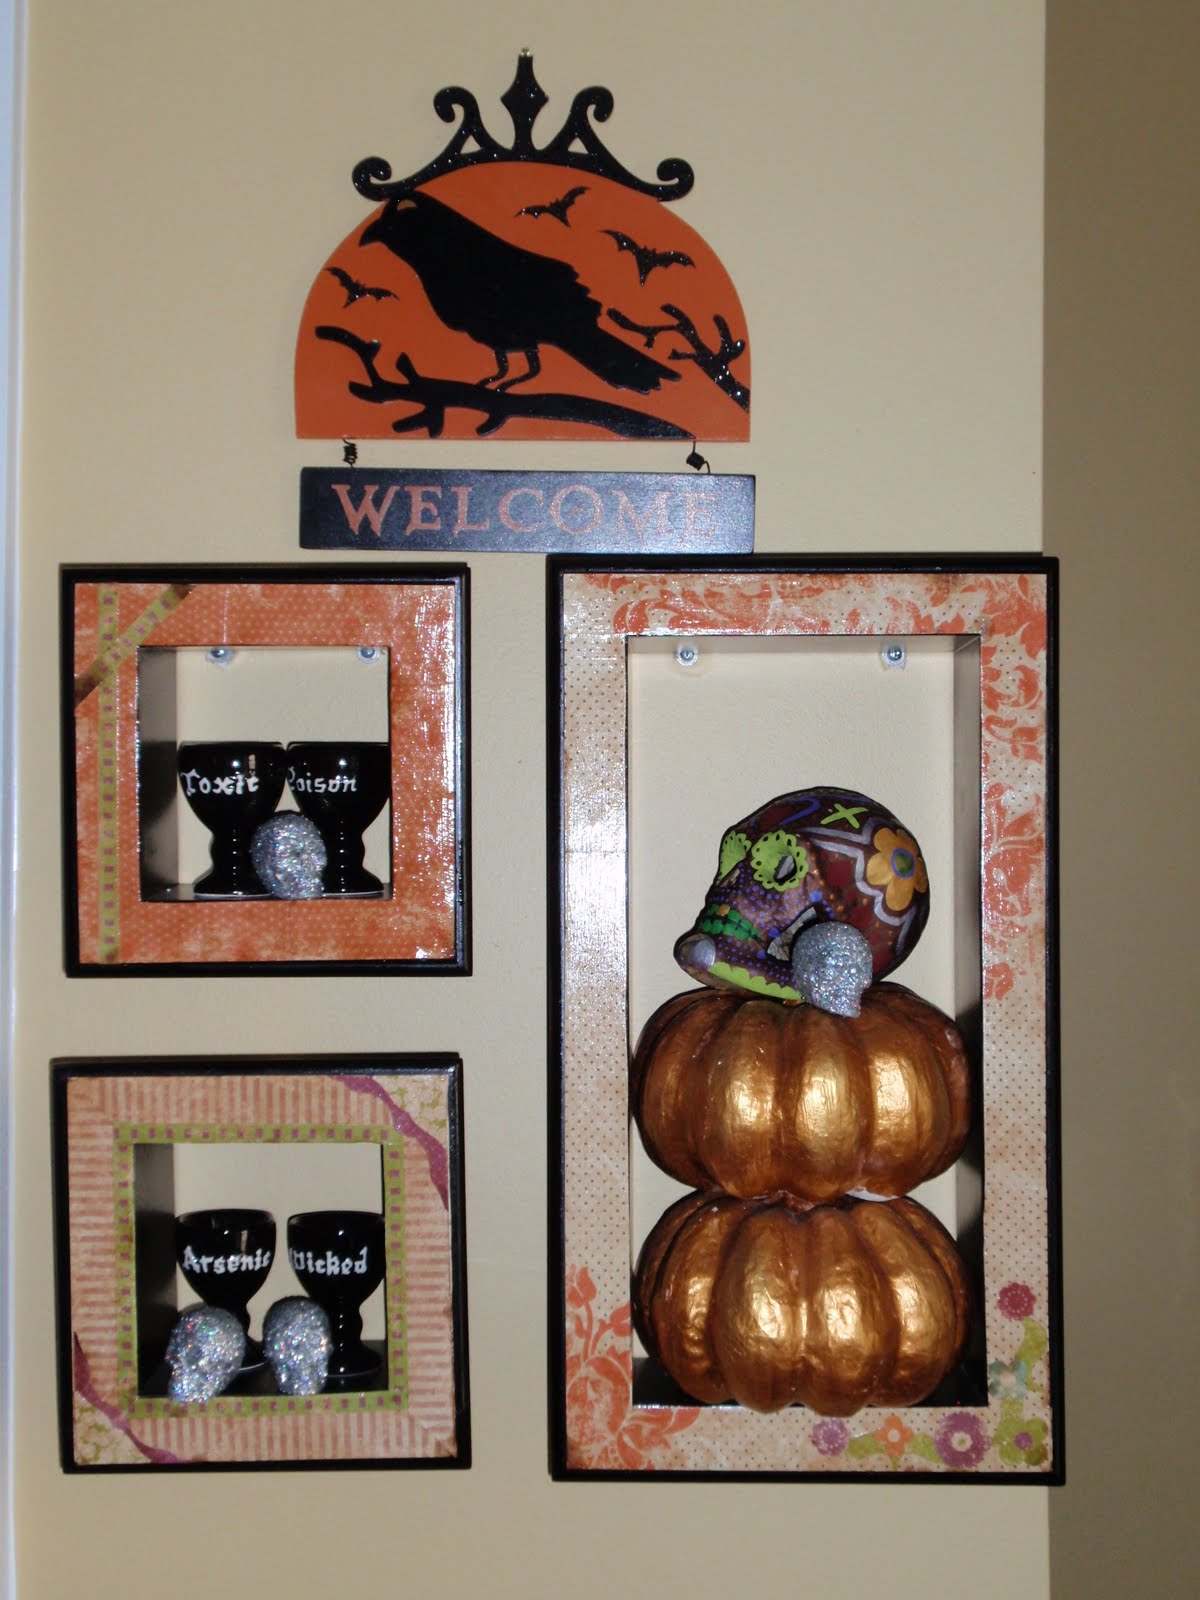
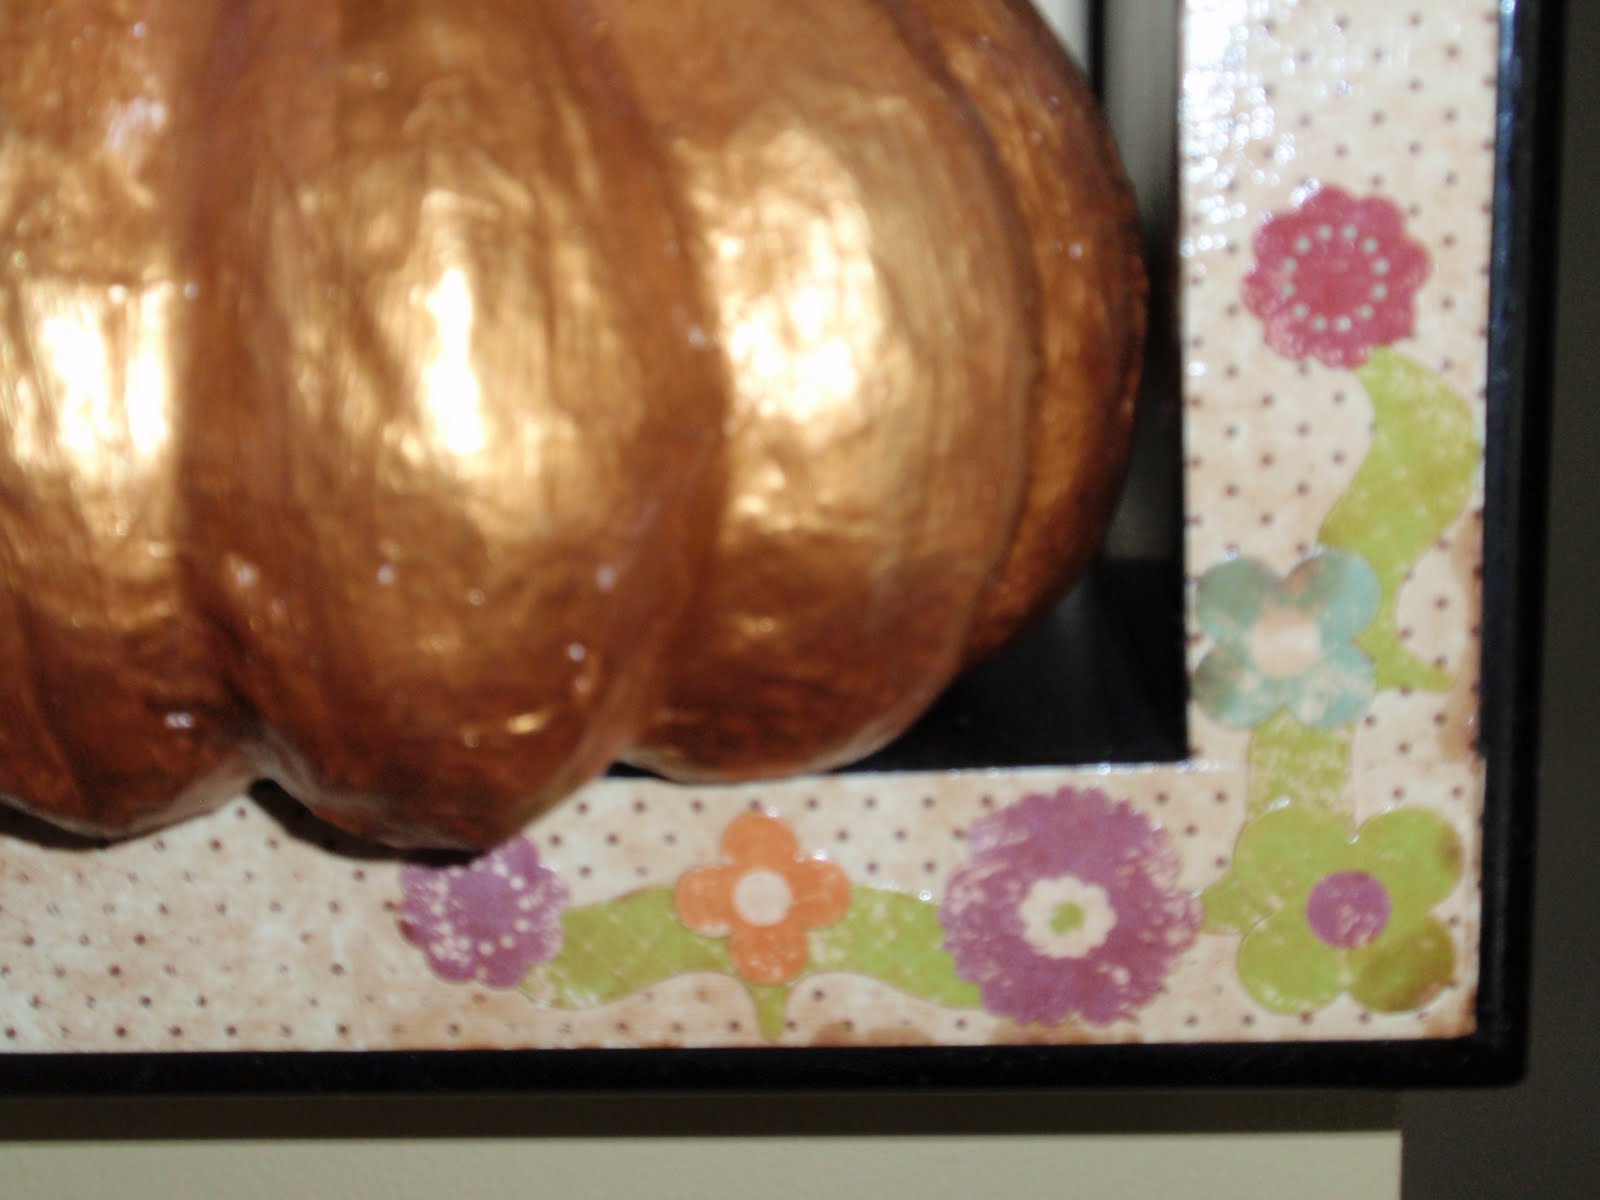
This set of three boxes represents a rescue attempt on my part and I must say I think I can out better than I'd planned. What I had was a very generic set of three black shadow boxes and I liked them fine until one fell off the wall and the corner broke off. I repaired the corner with wood glue and clamped it back on but it was a very noticeable repair, so they sat in the garage for months while I decided what to do. Finally I got around to pulling out some patterned card stock and framing out the front of the boxes. I layered some dye-cuts in a few places then sealed the whole shebang with a walnut stain to give it an aged appearance. After the stain dried I loaded up a few more coats of medium, building thicker in some places and thinner in others, for a more dynamic appearance, but I don't think that comes through in the photos at all. I hung them just in time to load them up with some Halloween tchotkes, but these will be a year round display.



Saturday, September 3, 2011
Halloween Hamlet
I couldn't resist the alliteration, it makes everything better. The kids and I made this little glittery village as this afternoon's craft. I first saw the little paper house idea in this month's issue of Scrapbooks, etc. but upon further investigation, I found that they used the idea with permission of Claudine Hellmuth (who is uber amazing) so I'm sending you to her blog to take a look around. I should not that I did modify her instructions, I didn't want to cut up any sheet music, so we used black card stock, cut out the places for doors and windows and lined those places with newspaper. We also added glitter. Lots and lots of glitter. I didn't have any LED tea lights sitting around so I have to post lit-up pictures later.


Friday, September 2, 2011
Stamped Gift Tags
These little cuties are from a while back. Maybe around February or March that I got my first Martha Stewart punch,the little birdie. It's a combo stamp and punch set, so you've got a few options with the birds. I found it easier to stamp the detail, then line up the punch with the stamp. Then I punched out the embellished square with the Martha Stewart Flourish Square Punch. And while I'd love to say that it was simple to use, I had to put some muscle behind it, or it didn't get through the card stock all the way. The birds very glued to the squares and the backs of the tags are stamped with TO: and FROM: once again using a Martha Stewart product, the Custom Stamp Setting Kit. I wasn't very impressed with the Stamp Setting Kit. Overall I though it gave only okay results, many tags were scrapped because the impressions didn't come out evenly or the letters worked their way out of position after several stamps. In fairness I may have used it more heavily than intended as I probably made several hundred of these things, but if I make more, I'll just look for a static "To/From" stamp. After the birds, more friends joined the party, sheep, birthday cakes, bees, etc. There are still more that I don't have pictures of. My new craft space should be ready within a week or so, and I'll be able to unpack all my goodies that haven't seen the light of day since I fled Church Hill to the suburbs! Here's some pictures for now, more later...


Halloween is my Christmas
True Confessions from the All Hallows Eve Obsessed...


 I used A Tim Holtz Configurations Box*. I think it's the Medium sized box. This was my first time using this product, overall it was great. Very easy to use and the options are pretty much endless. I'm sure there are more of these boxes in my future because I've got lots of little collections. Here's some in progress photos of how it all came together.
That's it for now. I'm pretty new to this who Blogatorium thing, so my format will be changing. But please to keep checking in, gentle reader, you never know what you will find. However, I'll give you a sneak preview and say if you live in the Richmond, VA area and you are interested in paper crafting and/or scrap booking I will be starting to offer classes very soon at a very convenient West End location. So, stay tuned for updates.
*For more info about the Tim Holtz Configuration Box, visit his blog.
- I'm that girl who hits the post Halloween sales and stocks my attic with Styrofoam tombstones and skulls LED lights starting November 1st.
- I purchase skull decor items at Halloween and use them year round. Skull salt and pepper shakers, skeleton salad tongs, skull and cross bone dish towels, the list goes on.
- When the Spirit Halloween store opened in the previous Border's location my children and I were literally waiting outside the door when they opened on August 31st at 11:00. We were the first sale, I had to wait for them to finish installing the POS machine.
- I finished my son's medieval knight costume in May.
- And I'm just a few yards of black tulle away from the final stitches on my daughter's costume.
- In fact, my only problem with Halloween is that it only happens once a year. But if we start crafting now, we'll have at least two solid months of creepy, crawly, crafty goodness!


 I used A Tim Holtz Configurations Box*. I think it's the Medium sized box. This was my first time using this product, overall it was great. Very easy to use and the options are pretty much endless. I'm sure there are more of these boxes in my future because I've got lots of little collections. Here's some in progress photos of how it all came together.
 |
| Collection of possibilities. |
 |
| The empty box. Each interior box is separate and there are myriad of configurations. |
 |
| A dry fit of little pieces in the box. I removed a few of the individual boxes to make room for the lion. |
 |
| Papering the back of the box. The paper is from a 12x12 stack called "Street Lace" |
 |
| Dry fitting paper for the back of the trio of bottom boxes. |
 |
| The bottom boxes are wrapped in black on the inside and bottom. |
 |
| And this is the look once all the compartments have been papered. I used ModPodge throughout and glued each object in place and well. Originally I used a silver Sharpie paint marker to color the front lip of each compartment, but then I decided to cover them in ribbon for a more finished look as seen below. |
 |
| Compartments lips are covered in purple ribbon. Some objects on display include a glow-in-the-dark LEGO ghost and Tim Holtz skeleton keys and escutcheons. |
 |
| This lion says Bordeaux, he came from the jewelry section, also a clip on glittered spider. |
 |
| Here you can see one of the last additions, plastic skeleton hands, from my Halloween stash. I had a hard time figuring out how to adhere these guys because they are not flat backed. Finally, with assistance from my daughter, I used Bendaroos. If you have kids, you're probably familiar with Bendaroos, if not, it's a bendable sticky stick thing. Worked great. |
*For more info about the Tim Holtz Configuration Box, visit his blog.
Subscribe to:
Posts (Atom)